Figure Out Who's Lurking in Your Supply Chain With Signatures and Attestations
A Story of Software and Cats
April 4, 2023

This cat’s wearing a bowtie and looks trustworthy but
- Do I know where he really came from?
- Should I bring him into my house?
- Does he have fleas?
- Will he bully the other cats in the household?
These are questions that went into my head when adopting this distinguished, senior cat back in February. Similar questions regarding safety and trustworthiness entered my mind as I look at the software I install and bring into Kusari’s software supply chain.
When entering the New York City Animal Care Center (NYC ACC) back in February, there were a lot of cats there, with varied ages, medical histories, and temperaments. I have other cats and I must ensure they’re protected. I don’t want to adopt a cat who won’t get along with other cats or has a medical condition that could impact the other cats. I want to have as much reliable information as I can get at my disposal to base my decisions on.
Software artifacts in the outside world are similar. They come from varied origins, can be potentially malicious, and may be incompatible with my existing IT environment. I want to know as much reliable information as I can about a piece of software. I want to be able to make informed decisions on whether it is safe or good to download or allow its use in my environment.
How did I know Cheeks the cat was safe to initially bring into my house? Well, the shelter had information packets for each cat that included:
- Medical information
- He just had surgery
- He was given his rabies shot
- He had been given preventive flea, tick, and parasite medication
- Information from his previous family
- He doesn’t mind baths
- He likes ribbon toys
- His behavior in the shelter
- He is timid
- He likes treats
How did I know the packet was accurate? I didn’t. However, there’s information within the packet I could probably rely on to be accurate and other info I might not be able to.
Medical information from the shelter itself is the data I would have confidence in the most. The shelter is well-known and well-respected and signed off on the medical information in the packet. There’s a lot at stake if a vet lies about giving medication or procedures. Less reliable is the information about his temperament within the shelter. He was only observed in the shelter environment. Even less reliable is information that came from other upstream third parties like his previous family.
We need to take a similar approach when looking at software. I might have confidence in software that came from a large, well-known organization like the Linux Foundation as long as I have confidence that the software came from the Linux Foundation. I will probably have increased confidence if that software also has metadata about how it was built, its dependencies, etc. that are also signed by people and organizations that I have assurance are good actors.
Enough Cats, How About Some Code?
So let’s look at how we can associate identities with artifacts and metadata on the software we develop and consume so we better understand what we’re pulling into our IT environments. We’ll use Sigstore’s Cosign CLI tool running in a bash shell. Sigstore can be installed through various methods but if you have Go already installed you can just run:
We can now create a simple artifact to sign. We will sign this artifact using Sigstore and utilizes Sigstore’s OIDC signing functionality that allows us to utilize external identity providers like Github, Google, and Microsoft to sign with an identity associated with a well-known identity provider.
You will first be prompted by the Sigstore Rekor transaction log public service that you are alright with publishing your email address and other personally identifiable information with your external Github, Google, or Microsoft identity. This will open up a redirect to log into an external identity provider. For our example, we’ll use GitHub. Sigstore will redirect us to log into GitHub. On successful login, we get a short-lived signing key that signs our blob. We’ll end up with a cheeks.sig signature and cheeks.pem certificate that we can distribute to folks who would want to confirm that we were the ones who created and signed the cheeks artifact.
We have now associated the cheeks artifact with our GitHub identity. If you want to follow along you can use the Fulcio cert and signature I have created for this example by creating a cheeks.pem and cheeks.sig:
We can now verify that I signed the cheeks artifact:
You should see the following output:
If you want to run all the signing and verifying operations yourself you can replace the --certificate-identity email address with the email address associated with your own GitHub identity.
Making Clearer Claims with Attestations!
By signing this artifact you are associating your identity with it. Depending on the context, this can be implied to mean that you built the artifact, that it’s trustworthy, or that you are certifying it in some capacity. Signing artifacts can be taken to the next level by making attestations.
Attestations are signed metadata claims that refer to an artifact. Attestations can claim anything. The key here is whether or not you believe the identity making the claim. I probably believe the cat shelter will make legitimate claims about the health of the cat I’m looking to adopt. I wouldn’t rely on the cat shelter to make a completely unrelated claim about my car.
We will look at the in-toto project’s ITE-6 attestation specification as an example. We won’t go into detail in this article on how these attestations are structured, but they’re essentially signed JSON documents with some key-value pairs in them. These key-value pairs are some metadata that make a set of claims. By signing this document you associate an identity with those claims. In-toto attestations include a subject that refers to the artifact(s) the claim is being made about and a predicate which is a domain-specific JSON object.
The most popular ITE-6 attestation predicate currently is the Supply Chain Levels for Software artifacts (SLSA) build provenance attestation. The SLSA build provenance attestation is a signed document that makes claims about how an artifact, usually software, is built. These claims can then be used by consumers to help make sense of whether or not they believe some software they are ingesting belongs within their software supply chain.
Let’s look at how we can make an example SLSA attestation about cheeks.
NOTE: At the time of writing, SLSA 1.0 is currently in release candidate and is expected to be released soon, but currently cosign supports SLSA v0.2 provenance predicate.
First, let’s create an example SLSA provenance predicate:
Now that we have the predicate JSON document we can turn it into an attestation with Cosign:
In the above command, we take the cheeks_slsa_predicate.json which contains our SLSA provenance predicate metadata and then sign it and output the certificate and DSSE signature envelope. The DSSE envelope, which in this case is the cheeks_slsa_attestation.sig.json file, contains the signature as well as the base64 encoded version of the metadata for the attestation. This follows a similar flow to the normal signature where we’ll sign with our GitHub identity.
You can now verify that the attestation was signed correctly and that the subject in the attestation refers to the cheeks artifact we are making the claims about:
You should see the output:
Similar to the signature flow I showed above, you can replace --certificate-identity with your GitHub email and verify that the SLSA provenance attestation was accurately signed.
By generating this metadata and signing it, we transform it into an attestation with an identity associated with it. This SLSA attestation is making claims about how the cheeks artifact was built. Some of these claims can be independently verified. However, someone of the claims can’t be. In these cases you will have to determine whether or not you believe I am a good actor capable of providing accurate metadata about the build provenance.
In a real-world situation, we would expect a system generating SLSA metadata to do so via a secured, hardened, and automated builder. We would also expect the build system to be run by a trustworthy party or to be certified by a well-known audit firm. Otherwise, we wouldn’t have confidence that the build was operated by a good actor or that the metadata within the attestation is accurate.
In future articles, we’ll explore how to generate and distribute these attestations through security-focused build systems like FRSCA as well as store the attestations claims in supply chain metadata data stores like GUAC. We will also look at how the metadata and identities in these attestations can be used as the basis for policy engines and zero trust controls to make decisions within our SDLC, like whether or not a piece of software should be authorized to run in production or even be allowed within the environment in the first place.
How Do I Keep Track of All This?
Herding software, like herding cats, is difficult. If you want to keep track of the signatures and attestations on a handful of artifacts it’s simple. However, almost no one just installs a few pieces of software with few dependencies.
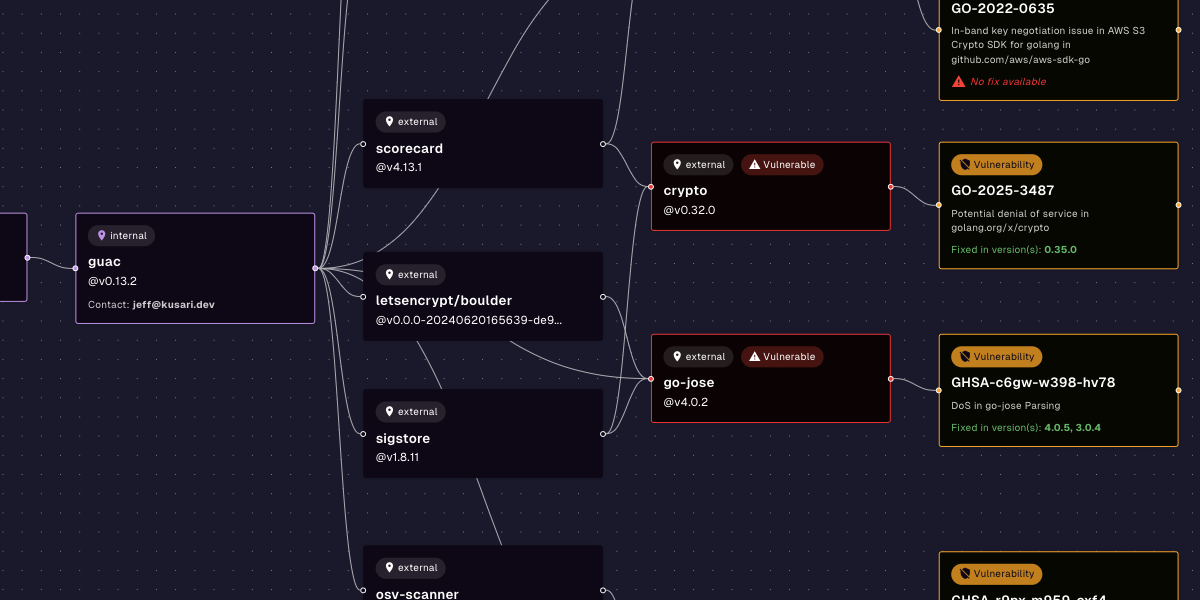
Keeping track of the various claims within attestations, especially when you take into consideration the thousands of software artifacts you are probably ingesting is quite difficult. This is why we are helping lead and engineer critical supply chain security-focused projects like GUAC.
GUAC is a system for helping organizations better understand their software supply chains. We’re looking forward to sharing more with you in the coming weeks about what is coming in the GUAC beta release!
What’s next?
Signing artifacts and metadata through toolsets like Sigstore is just the start. There are a bunch of tools we’ll take a closer look at in future articles. Some examples are in-toto, The Update Framework, Witness, FRSCA, and Kyverno.
Previous
No older posts
Next
No newer posts


.webp)


.webp)


.png)
.png)


.png)
.png)
.png)
.png)
.png)
.png)
.png)


.png)


.jpg)


